Select patients, studies, series, stacks
Once you have built an overview, patient, study and series information of the DICOM data displayed in the overview, can be
hidden or shown by pressing the 'Info' button in the toolbar.

First all patient names are displayed. See the image below. When you select a patient, all it's studies are displayed in
the list box below the patients, and when clicking on a study, the series are displayed below the study-list. With each
selection, all DICOM images belonging to the patient, study or series of your choice, are displayed in the overview.
F.e. you click on the second study of a selected patient, all image files of this study are displayed in the overview.
Press 'Show all' to cancel your selections and display all images/scenes of all patients.
You can select multiple patients, studies or series. Use the Ctrl- or Shift buttons in combination with a the mouse. Press and hold the
Ctrl-button and click on a patient/study/series to add or remove it from your selection. Press and hold the Shift-button to select a range of
patients/studies/series.
Only the images of the selected patients/studies/series are displayed.
Use this selection to drag and drop multiple instances to the CD burn- or push-interface or to make display selections.
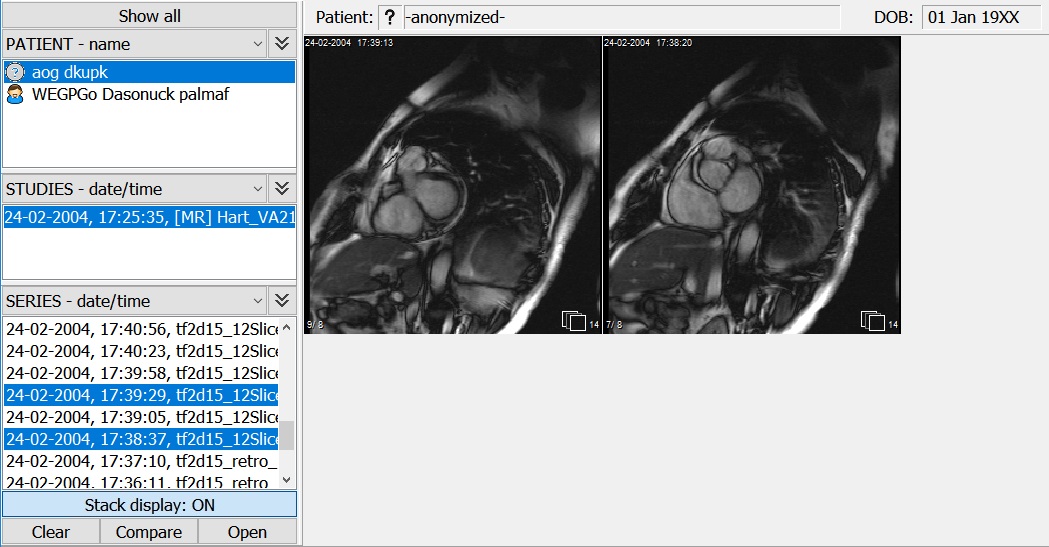
Patient, study and 2 series (stacks of 14 images) selected
You can select to view patient names or ID's, by pressing the patient pull-down menu (PATIENT - name). Studies and series
can be viewed by the date/time+description or description only. The '>>' means that the earliest date is shown first, '<<'
is latest date first.
By selecting 'STUDIES ONLY' in the patient pull-down menu, the setup is changed to only 2 list views: studies and series.
The patient view is removed. You're now presented with an overview of all studies found during your last scan or PACS retrieval.
Change the size of the patient-, study- or series-list view by dragging the separation bars up/down or drag the separation
bar between the icon images and the info view left-right.